
10 Steps Designers Use to Create a Finished Home
This post contains affiliate links, which means I may earn a small commission at no extra cost to you. I only recommend products I truly love.
✨ Table of Contents
Designing your home can feel… a LOT. Pinterest says one thing, HGTV another, and somehow your house still looks the same. You’re not alone — I hear this all the time from clients who start strong, then freeze halfway through. Each step is full of home decorating and design tips to help you feel more confident as you navigate the design waters. And at the heart of it all, my design philosophy is simple: Your home should express who YOU are and how YOU want to actually LIVE in your space. These are questions only you can answer — whether you’re working with a designer or trying it yourself! So dive right in and I’m confident you will actually enjoy the process!
✨ Before you start moving furniture or buying decor, grab the Free No-Fail 10-Step Home Design Checklist — it’s the exact framework designers use to plan a room from start to finish.
(It opens in a new tab so you won’t lose your place.)
STEP 1: DECLUTTER (aka Let It Go 🎶)
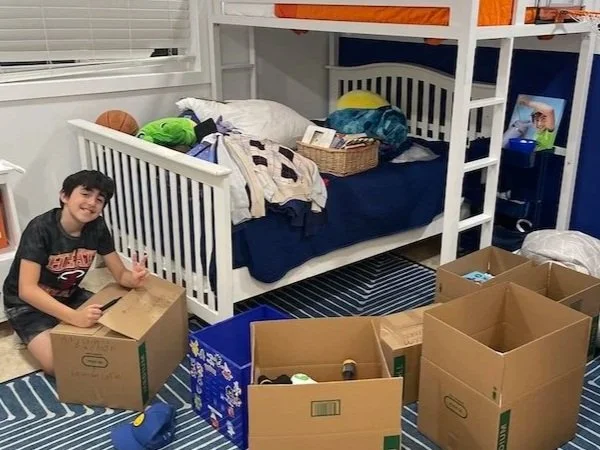
I know…so NOT glamorous or design-y. But stick with me. You’ve been staying up late, scrolling Pinterest or binge-watching design shows, and you want a change. Real change starts with what you already have at home. So, before pressing “add to cart,” resist skipping this step and take stock of what you already own.
TIPS:
Toss anything broken or that makes you roll your eyes every time you see it
Donate, sell, or trash
Keep neutral items for possible repurposing
Marie Kondo’s method works wonders — sort and keep only what sparks joy, even if you don’t know how you will display it later. You’ll feel the psychological lift immediately!
💗 Thoughtful Donation Ideas
If you’re sorting through items that still have life left, these national organizations make giving easy. Check each site to see what’s available in your area.
Pickups for Breast Cancer — Free home pickup for clothing and small household items; proceeds support breast cancer charities.
Pickup Please — Donate clothing, books, and household goods; benefits Vietnam Veterans of America.
Goodwill — Drop off or schedule local pickups for clothing and household goods; donations fund job training and community programs.
Soles4Souls — Give new or gently used shoes and clothing; distributed to families in need around the world.
Annabel’s Closet — Provides furniture and household essentials to families rebuilding after domestic abuse.
Letting go feels even better when your items help someone start fresh.
STEP 2: INVENTORY (DESIGN FOR FUNCTION)
Now that we’ve edited down belongings, it’s time to look at what’s left with a critical eye. The pre-design step may not feel glamorous, but it’s the secret behind homes that work as beautifully as they look.
Think about the way your family actually lives: if the kids always do homework at the kitchen island, don’t make them trek across the house for supplies. Maybe that means moving your holiday china to a closet so you can dedicate a kitchen drawer to pencils and paper. Placement is everything…this is where real-life functional design begins.
Tips:
Make a list of how each room is used daily/weekly by all members of your household
Consider repurposing rooms (e.g., infrequently used dining room → office/craft space)
Ensure accessibility for frequently used items
Take inventory of current pieces and what needs to be repurposed or replaced
Notice what repeats: colors, shapes, textures. That’s your subconscious telling you what you love

📘 Favorite Tool for This Step
Home Renovation Project Planner
A beautifully practical workbook to track layouts, ideas, and budgets — all in one place.
Perfect for Step 2 as you organize your spaces with intention.
Click here to check it out →
STEP 3: INSPIRATION (FIND YOUR HOME DESIGN SPARK)
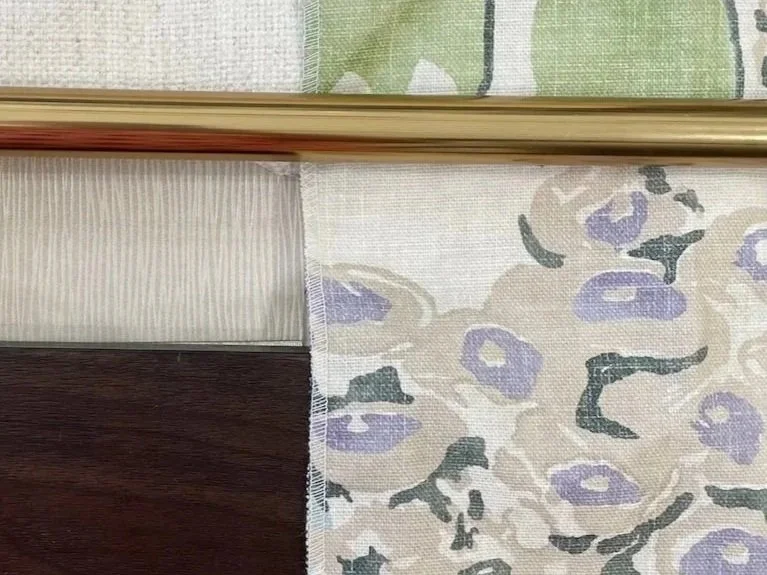
Something sparked your desire to change. Maybe it was that adorable B&B you recently stayed at, a friend’s bedroom that felt so “adult,” or even your current frustration with lack of storage or not having enough seating for guests. This is the step to launch your design vision. How can you bring your home design inspiration to life?
Tips:
Collect anything that makes your heart do a little happy dance: a painting, a rug, even abuela’s old vase
Identify themes in Pinterest boards, clippings, or screenshots
Commit to a launching point to sharpen your vision
Let inspiration guide your choices without compromising functionality
STEP 4: FLOW (CREATE EASY MOVEMENT AT HOME)
When we designers say FLOW, we mean that your house should NOT feel like an obstacle course. Think of the way people move throughout your home. Consider entrances, walkways, and how daily routines move through each space as you plan your home design layout.
Ask yourself: Do you feel blocked by a tall sofa back? Is there a pointy table corner you always skirt around? Do the kids run to the backyard through the center of the family room, and is something blocking them? Traffic patterns matter just as much as where the sofa goes.
Tips:
Keep passageways at least 36” wide
Consider visual focal points — anchor rooms with statement pieces
Place tallest/largest pieces farthest from the entrance to ensure a proportional balance of scale that makes rooms feel spacious and inviting
Avoid blocking natural movement. Are sharp table corners or large pieces creating “obstacles”? Are you always scared of the glass coffee table when little ones are around?
✨ You’re halfway there! When you're ready to put it all into action, grab the Free 10-Step Home Design Checklist and follow the same process designers use to create cohesive, finished rooms.
(It opens in a new tab so you won’t lose your place.)
STEP 5: BUDGET (SET REALISTIC HOME DESIGN GOALS)
Budget = freedom, not buzzkill! Weird but true. Honestly, it really relieves the pressure. Some of my clients’ tightest budgets have opened the door for the most creativity, pushing me to find innovative ways to create impact.
A lot of clients are scared to reveal numbers because they don’t know costs. I get it! I usually provide ranges after I learn what they’re looking to accomplish. Do a little online sleuthing (yes, even ask AI!) to figure out ranges before you panic over numbers. A clear budget actually gives you more freedom to make creative choices without guilt.
Tips:
Game-Changer: Think of budget in two parts: fixed costs (sofa, dining table, bed) and flexible costs (pillows, lamps, art). Prioritize fixed first.
Prioritize durable, neutral anchor pieces
Track costs and allocate funds according to usage and longevity
Use accessories (pillows, throws, rugs, paint) for personality, pops of color or pattern and changing whims
Research prices online before committing. Put AI to work!
Avoid trendy big-ticket items unless they’re a must-have
STEP 6: COHESION (PULL IT ALL TOGETHER)
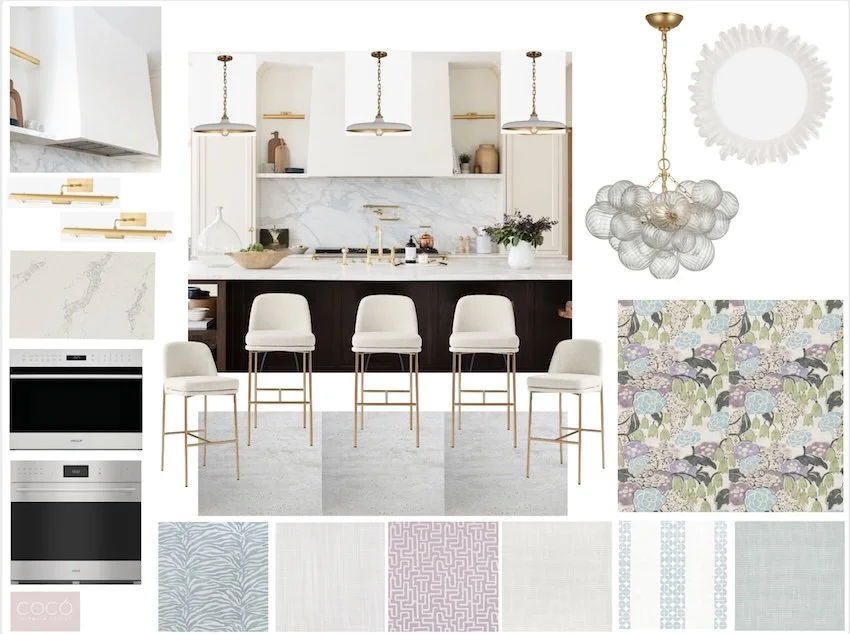
Your rooms don’t need to be twins…they just need to feel like cousins at the same family reunion. Different spaces, same vibe! One of my main tips for creating a designer look is to carry a common theme, color, or element throughout the home. Our brains crave order. As we move through spaces, we think: “Ah, I get it. Give me more!” That’s the secret psychology of cohesive home design.
Tips:
With a fresh eye after all your hard work until now, pick items that meet functional and aesthetic goals
Review Pinterest boards, favorite home Tik Toks/Instagram reels, or vision boards on Houzz or Apartment Therapy
Lay items out digitally or physically to test cohesion
Adjust until each piece brings joy and serves daily needs
STEP 7: PAINT (YOUR SECRET DESIGN WEAPON)

Paint is the ultimate glow-up. Cheapest facelift your house will ever get! And while so many people start here, I firmly believe your design aesthetic and actual pieces should come first. Only then should paint decisions be made as the backdrop…unless of course a particular color was your inspiration in Step 3.
Tips:
Research paint colors beyond the swatch. Search online for actual rooms or furniture painted in that exact color. You’ll get a more realistic sense of how it reads in different homes, lighting, and styles than you will from a single paint chip.
Decide whether you want to create contrast with your walls and other items in the room, or want things to blend
Purchase small sample size cans, and test out colors on cardstock or even cardboard
Consider peelable samples (Samplize)
Observe color in different lighting and in different locations throughout your home. And leave them up a few days to give your brain time to adjust
Don’t forget the 5th wall - the ceiling! Awesome place to use color
STEP 8: STYLE (Time to Play! - HOME STYLING TIPS THAT WORK)
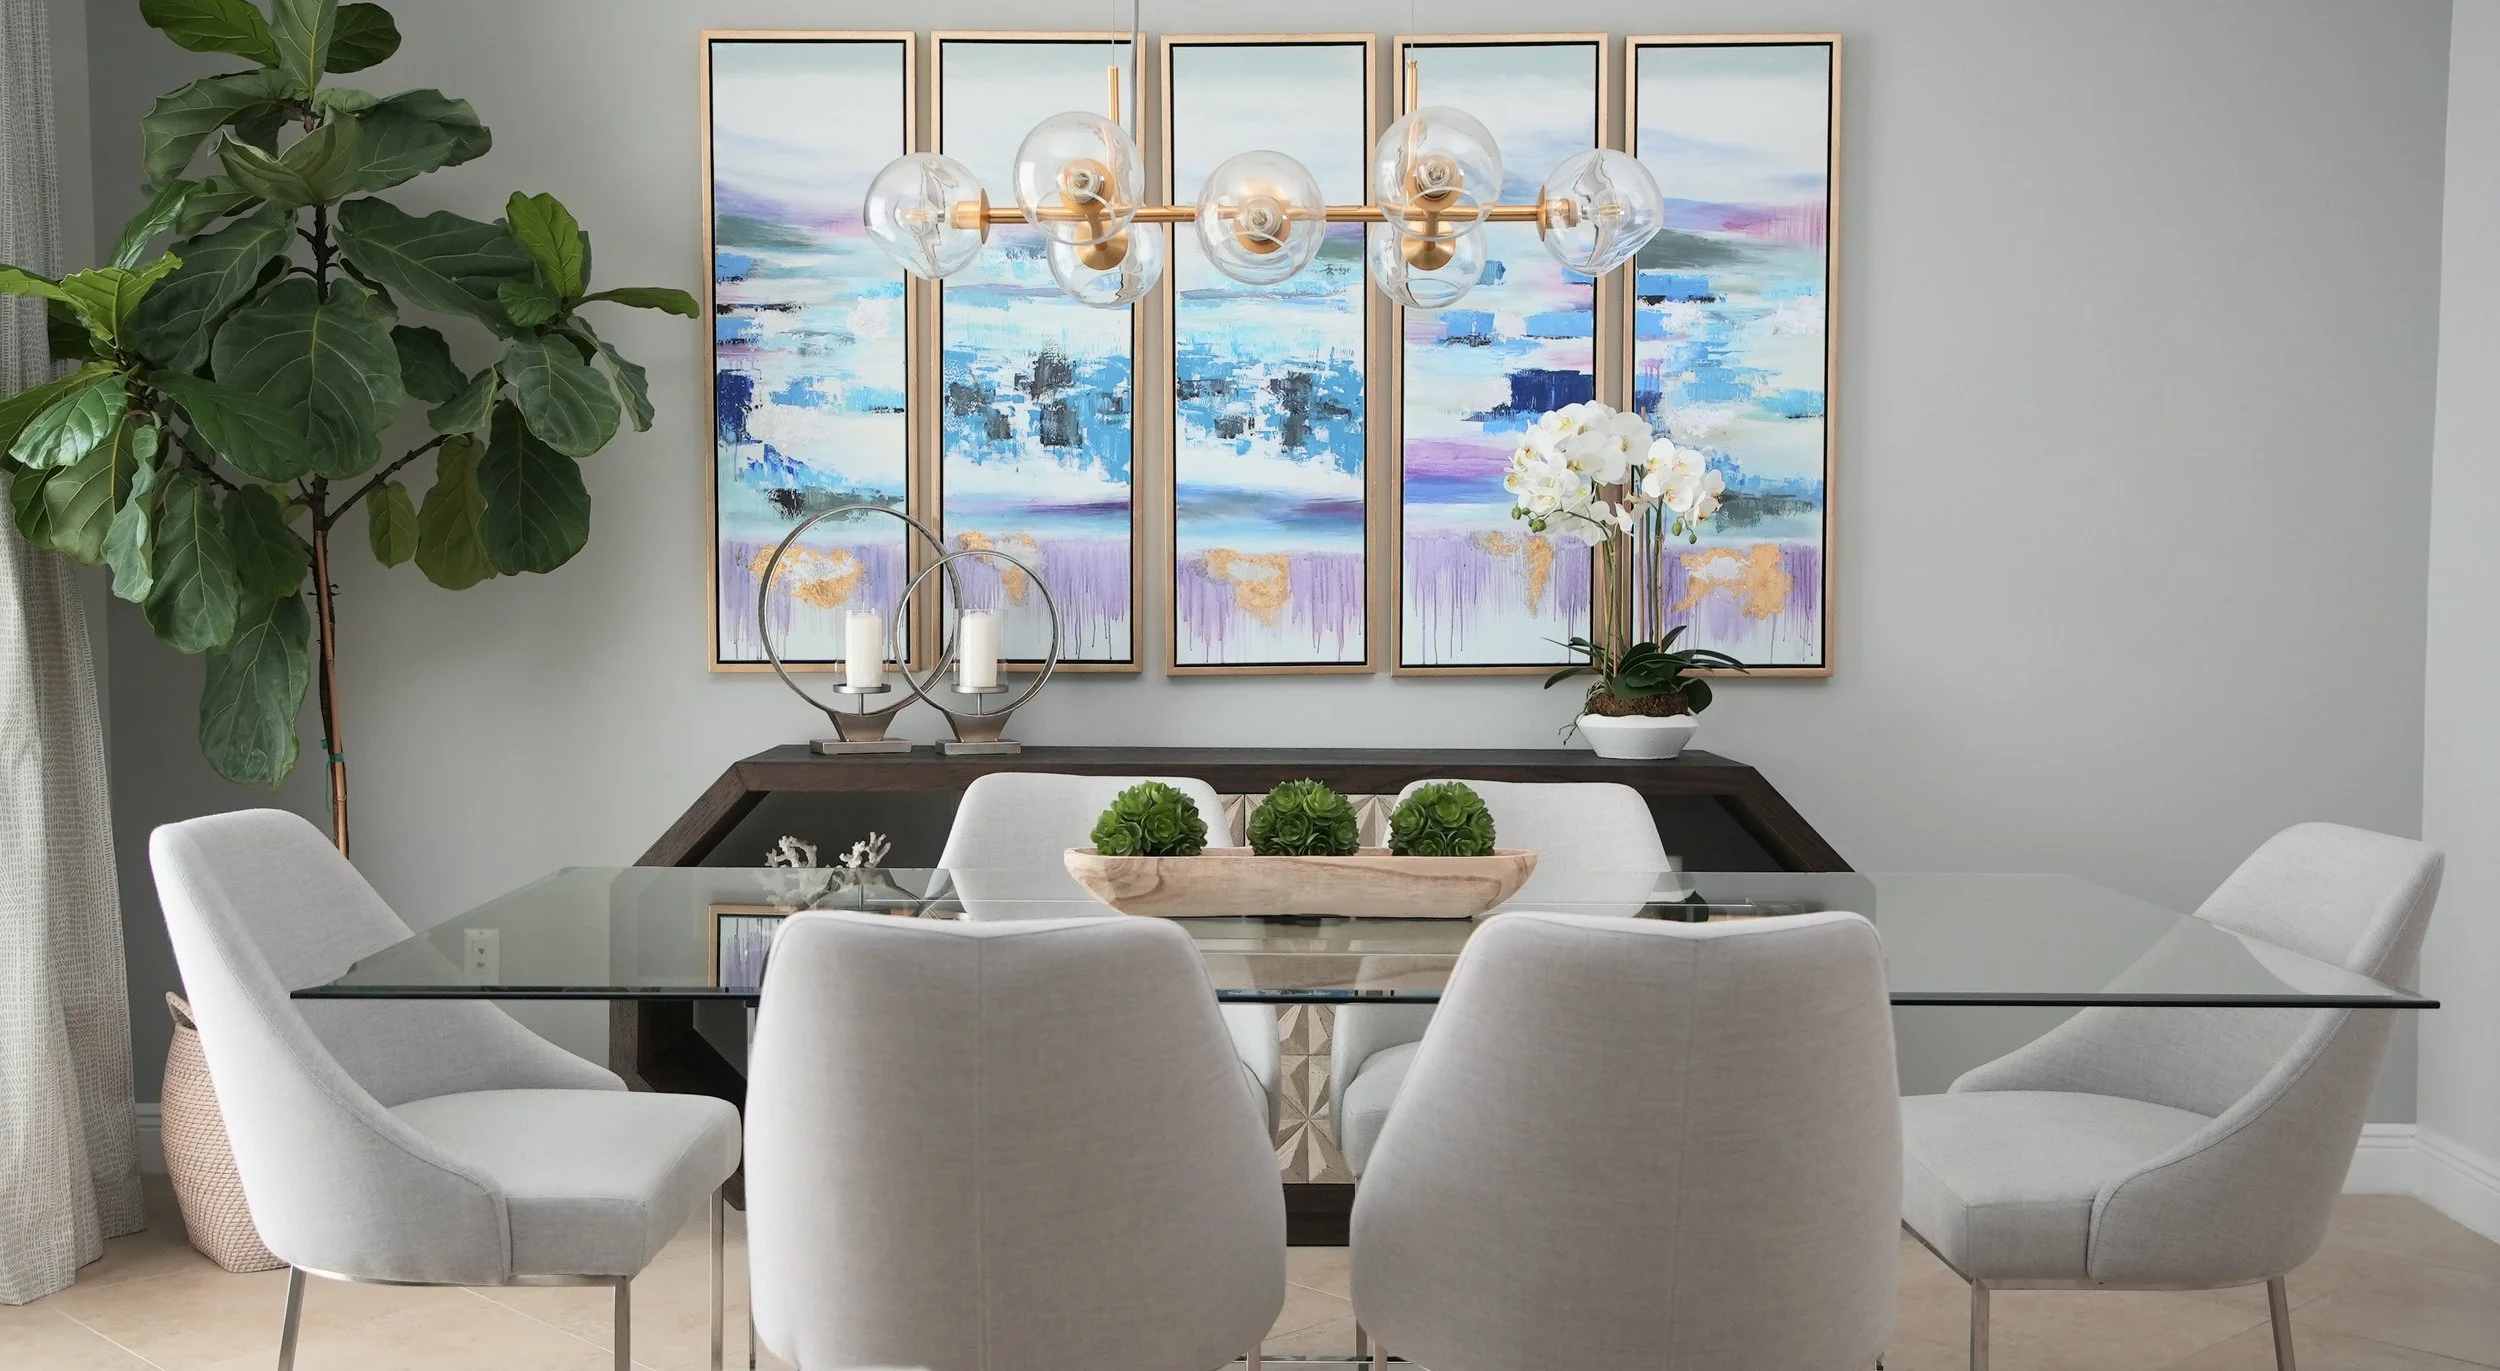
Finally…we’re at #8 and you get to shop! But let’s do so thoughtfully. Start letting the first layer come in — the big pieces, rugs that anchor the space, focal point chandeliers, or a cozy armchair perfectly placed by a bookshelf with a nearby floor lamp.
Tips:
Begin with anchor pieces
Don’t be afraid to see what works in real life. Look at return policies and restocking fees. It can be worth a slight return fee to get to see expensive pieces onsite before committing.
Place items, then tweak. If you love an item, and it doesn’t work in one area, it may surprise you elsewhere!
Don’t stress imperfections; it’s part of the journey
STEP 9: SMILE MOMENTS (DESIGNER SECRET TO A HAPPY HOME)


Now it’s time to actually live with the pieces you love. Think of your home like an Instagram feed IRL…little snapshots that make you pause and smile. Every corner, hallway, or landing has the potential to be a vibe. It doesn’t have to be fancy; even a cozy chair with a throw and a plant can become a moment that makes your day feel a little more elevated. The secret? The best rooms don’t just look good…they tell your story.
Tips:
Accessorize baby! Decorate with what you have. Personal items and meaningful objects can be layered for impact as they add personality and joy everywhere you look!
Remember those items in Step 1 that sparked joy - now’s the time to showcase them. Maybe the antique keys you collect on trips can be displayed in a small glass box with gold trim and lock.
The top of a staircase is perfect for a pendant light or favorite painting. Hallways can shine with family travel photos or even a ‘Wall of Accomplishment” with various accolades.
In bookshelves mix heights, textures, and colors with books, decorative objects, and photo frames for visual interest that keep your eye moving
Incorporate plants — real or faux — for vibrancy. They can work in corners, on shelves, next to your computer, or in a kitchen window.
Leave room for future special acquisitions from travel and special occasions.
STEP 10: ENJOY (LET YOUR HOME EVOLVE)
Light the candle. Use the good china. Gather the people you love around your table. Life moves fast! Don’t wait for the “perfect” day to enjoy your space. Let it hold laughter, memories, and the everyday moments that make it yours. Home design isn’t about perfection; it’s about creating a place that grows and evolves with you.
- Don’t be afraid to move things around.
- Embrace imperfections as part of your home’s story.
- Enjoy the comfort and beauty you’ve created.
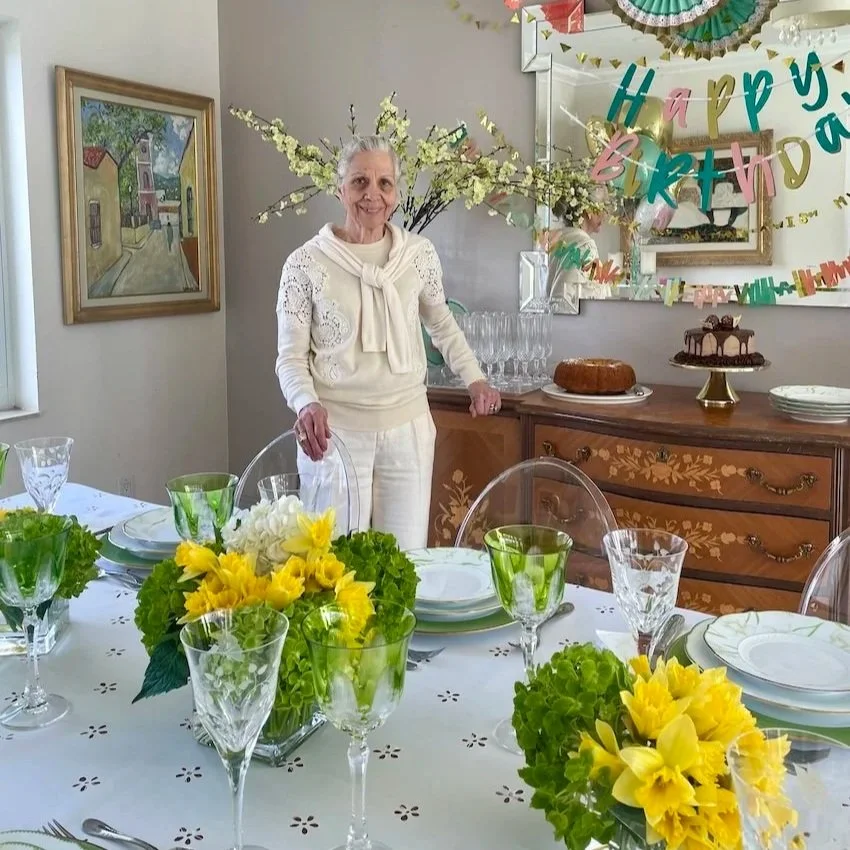
My mom celebrating her 80th — the woman who showed me that creating a home is really about caring for the people in it. She’s the heart behind everything I believe about design.
🩶 All interiors featured in this post were designed by Cocó D’Ascola through her studio, Cocó Interior Design.🩶
Ready to start transforming your home?
Download the Free 10-Step Home Design Checklist and follow the same step-by-step process interior designers use to create cohesive, finished rooms.
(It opens in a new tab so you can download it instantly.)